
Process of Forging & Shaping a Tanto Blade
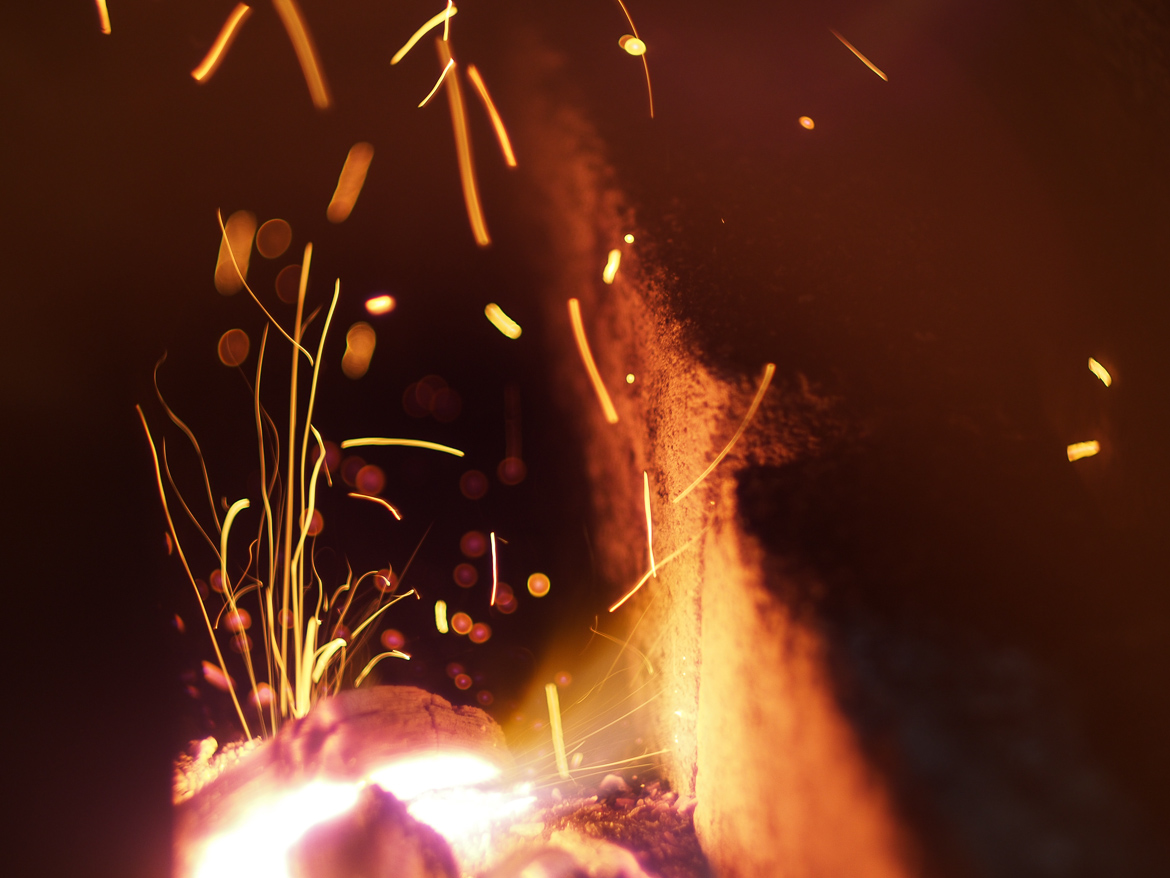
A charcoal fire is used to heat the steel for shaping with hand hammers. I often use a heavy hammer for rough shaping and a lighter one for the finishing work. The shaping of a blade is divided into a hot and a cold stage, and each stage further divided into two steps. First a specific type of blank (sunobe) is forged, the shape of which will determine the finished dimensions of the blade. Then the blank is forged into the shape of the blade and allowed to cool slowly. The cold shaping begins with the profile and then moves to the bevels. Once these are finished, the blade is ready for Yaki-ire, clay tempering.
Forging the Blank (Sunobe)
In this stage, the volume of steel is allocated to each area of the blade and tang. This distribution will largely determine things like distal taper, proportions, and style of the blade, though the sunobe looks very little like its final shape at the end of this step. In traditional swordsmithing, a practiced eye can determine the outcome of a student’s test at the sunobe stage, without even waiting for the forging of the final shape.


Forging to Shape (Hizukuri)
Forging a sunobe into the shape of a blade is a process of working up and down the steel a section at a time, forming the bevels and establishing the geometry of the knife. As the bevels are narrowed, the outward moving steel tends to curve the blade away from the edge, this must be anticipated and compensated for throughout the process. If it is not addressed early on, there will be no way to correct it later. Keeping the temperature as low as possible and forging almost into the black range each heat is one way to help refine the grain structure of the steel. Enough edge material must be left to have a 2mm thick edge after forging or 1.5mm after filing and before yaki-ire.


Rough Shaping (Ara-Shiage)
This stage of cold shaping has two distinct steps, the first to outline the profile, and the second to establish the bevels and sides of the tang. Files are used to profile the blade in a blacksmithing leg vise, adjusting and refining each line slowly, removing to check the overall silhouette often. A sen dai (staple vise) and a sen scraper are used for the rough work on the bevels, filing and drawfiling for the final work. The edge should still be 1.5-2mm thick after all of the rough shaping is finished in order to reduce the risk of warping or cracking during yaki-ire.
Mune (spine)
The mune is forged in during hizukuri but often needs a fair bit of work to define and true up. Using a sen scraper or an old rasp to remove forge scale before filing is a simple way to increase the longevity of the files. At this stage any irregularities in the planes or angles of the spine should be cleaned up and a degree of reverse sori in proportion to they type of hamon intended.
Sighting down the spine and regularly removing the blade from the vise to check the geometry will help prevent uneven angles and wavy lines. The spine should be as complete and accurate as possible before moving on to the munemachi.

Mune Machi (spine notch)
The munemachi is partially forged in during hizukuri but must be filed after filing the mune. If the order is reversed the file will mar the edge of the munemachi and cause it to droop, opposite of what it should be doing right at that point. The notch is placed according to the tang and blade length and filed square to the mune rather than “kinked” upwards. Check often to prevent the notch from becoming lower on one side.

Nakago Mune (spine of the tang)
The areas of the spine on either side of the munemachi should align with one another in a fairly straight line. The spine of the tang continues this line towards the tip of the tang.


Ha (edge)
Moving back to the tip, the blade is flipped over in the vise and the edge profile cleaned up from tip to base of the tang. Reverse sori must be included here in anticipation for yakiire. Establishing an edge line with a steep 45 degree chamfer gives a guideline to file down towards. If the edge is too narrow, particularly in the area of the hamachi, it must be filed down until it is at least 1mm thick in this area, better 1.5-2mm thick all the way along.

Ha Machi (edge notch)
The hamachi is not forged in during hizukuri as it is thin enough to file in. Placing the hamachi is done by approximating 90 degrees from the spine next to the munemachi and marking the hamachi at a perpendicular point. Great care should be exercised not to allow the file to bite too deeply and move the hamachi out of line with the munemachi. Read more about the geometry of this area.

Nakago Ha (edge of the tang)
The line from the hamachi is continued to the end of the tang. Using a kata will help develop the sense of proportion of thickness and taper required to create this part of the tang geometry. In the meantime this stage may need to be revisited after establishing the bevels. It is also helpful to check if the length of the tang is correct before committing to a final profile here.

Nakago Jiri (tip of the tang)
The blade is placed point down in the vise and filed to finished shape. If there is an excess of material here beyond a couple of mm, a hacksaw may be used first. The most common form is rounded or slightly rounded, called kurijiri.


Hira Ji (blade bevels)
All of the above profile work should be complete and as accurate as possible before moving on to the bevels. After the bevels have been refined in the sen dai, moving back to the vise will mar the bevel surfaces.
The goal of this stage is to true up the lines along the spine and edge and then flatten the area between them. Filing a steep 45 degree chamfer along the edge establishes a line and then the material is removed down to meet it.
Hirazukuri (single bevel) tanto are mainly flat from the mune to the ha, but should have at least a small degree of convex or haniku (“meat” behind the edge), to provide strength. Because the edge is still 1-2mm thick the bevels should be about as flat as they can be filed at this point to save time after yakiire.
Great care must be taken at the now-exposed hamachi and munemachi as too much pressure on the file or sen and the entire shape will be broken. Thinning the hamachi too much and rounding off the edge line would require the whole edge profile and bevels to be taken down further to realign with it (leaving some ubuha, at least at this stage, is one form of protection from this error). Thinning the vulnerable corners of the mune at the machi would require the rest of the mune to be thinned accordingly and the bevels to be re created to align with it.


Nakago no Hira (tang bevels)
As with the blade bevels, a steep chamfer is filed on all edges to set the target lines. Filing down towards them and checking regularly from multiple angles to keep the geometry as even as possible. Finishing is done with careful draw filing. Care must be taken not to remove too much material around the machi, either where the habaki will sit or on the blade bevels next to them. Finally, all edges are very lightly chamfered by drawfiling to remove burrs without altering the shape of the edges.


The next process is Yaki-Ire, clay tempering.